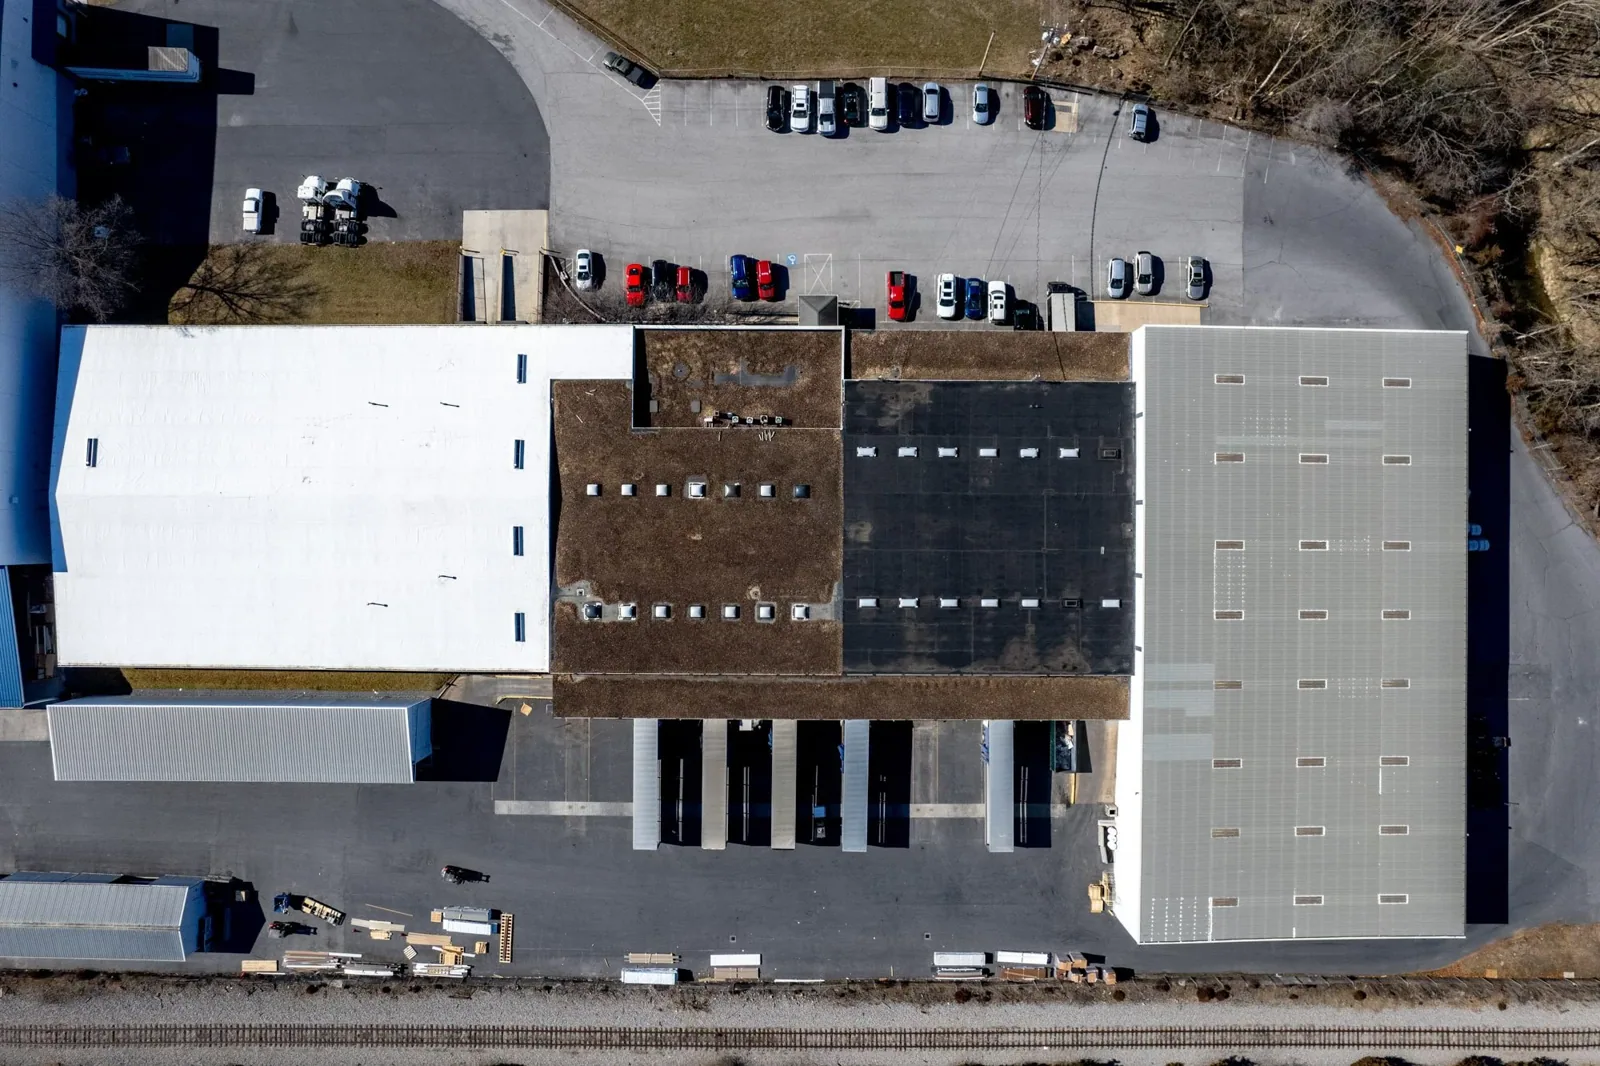
Identify the Panel Profile
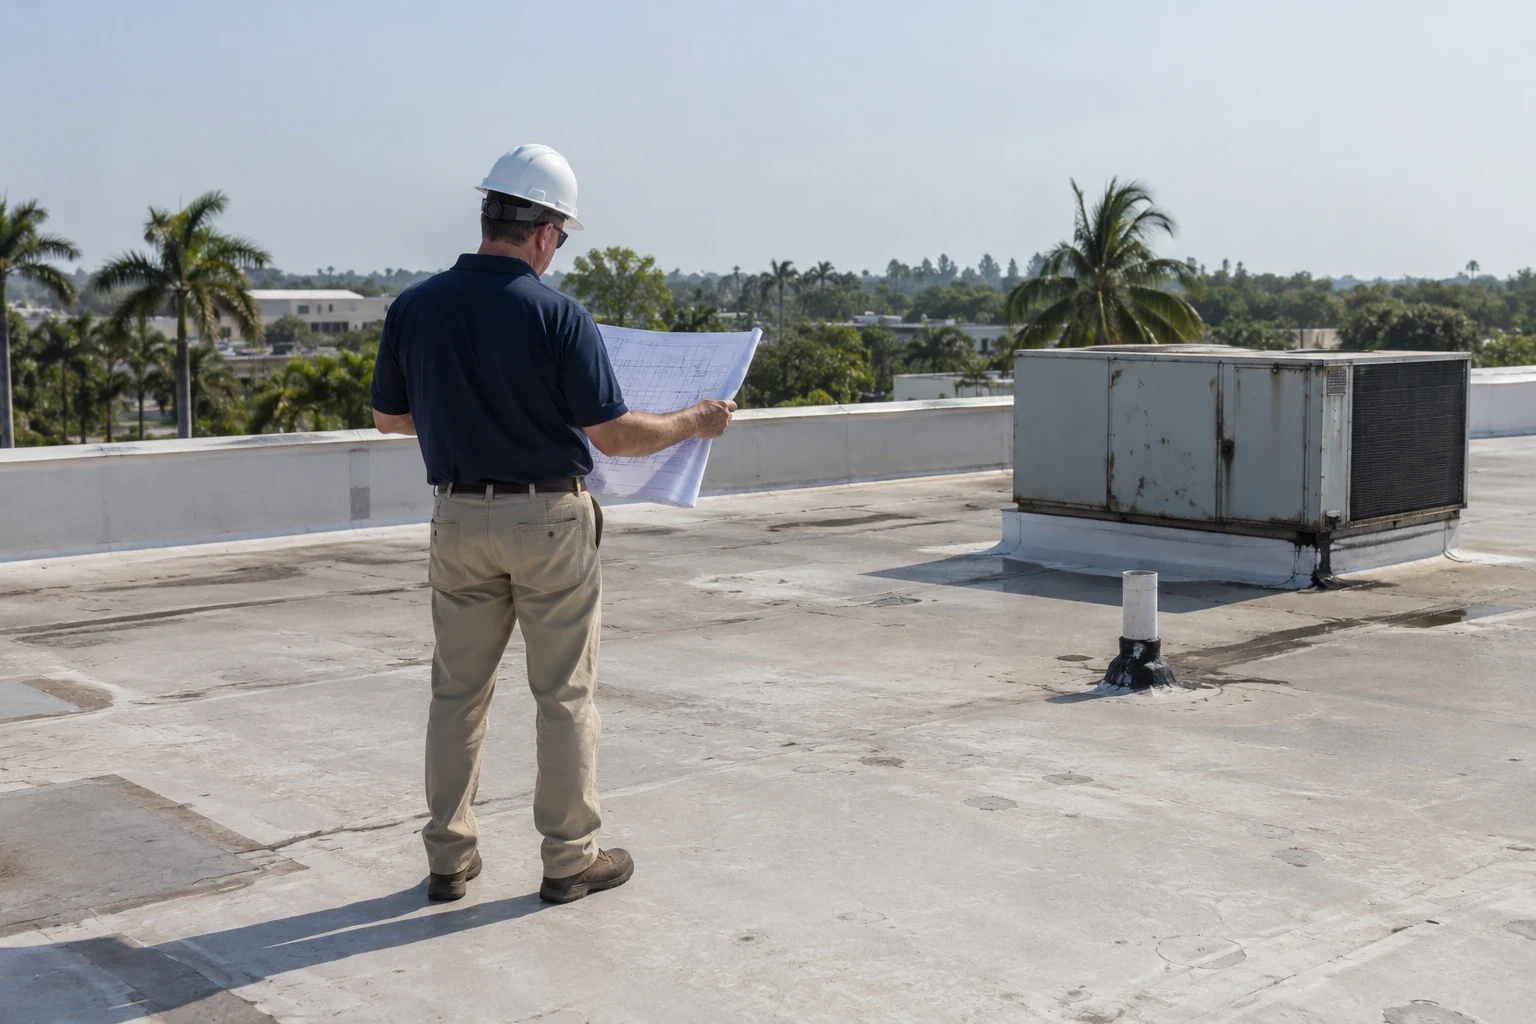
A standing-seam panel can expand in the sun and slide back as the metal cools. A fixed clip or tight penetration can interrupt that movement and stress the seam. We inspect panels, clips, end laps, flashings, and roof transitions before selecting a repair. Round Rock's commercial properties near IKEA and Pecan 130 Business Park include different roof layouts and access needs, so each roof plan starts with the installed system.
Standing-seam metal uses raised seams to connect adjacent panels. Many assemblies conceal clips beneath the seam, while details vary by panel profile and design. We check the product and attachment before changing a fastener or seam.
Send roof plans, panel or manufacturer records, photos of the seam and leak, and access details. We will inspect attachment and flashing at the affected zone. Call 555-555-5555 or request a roof assessment.
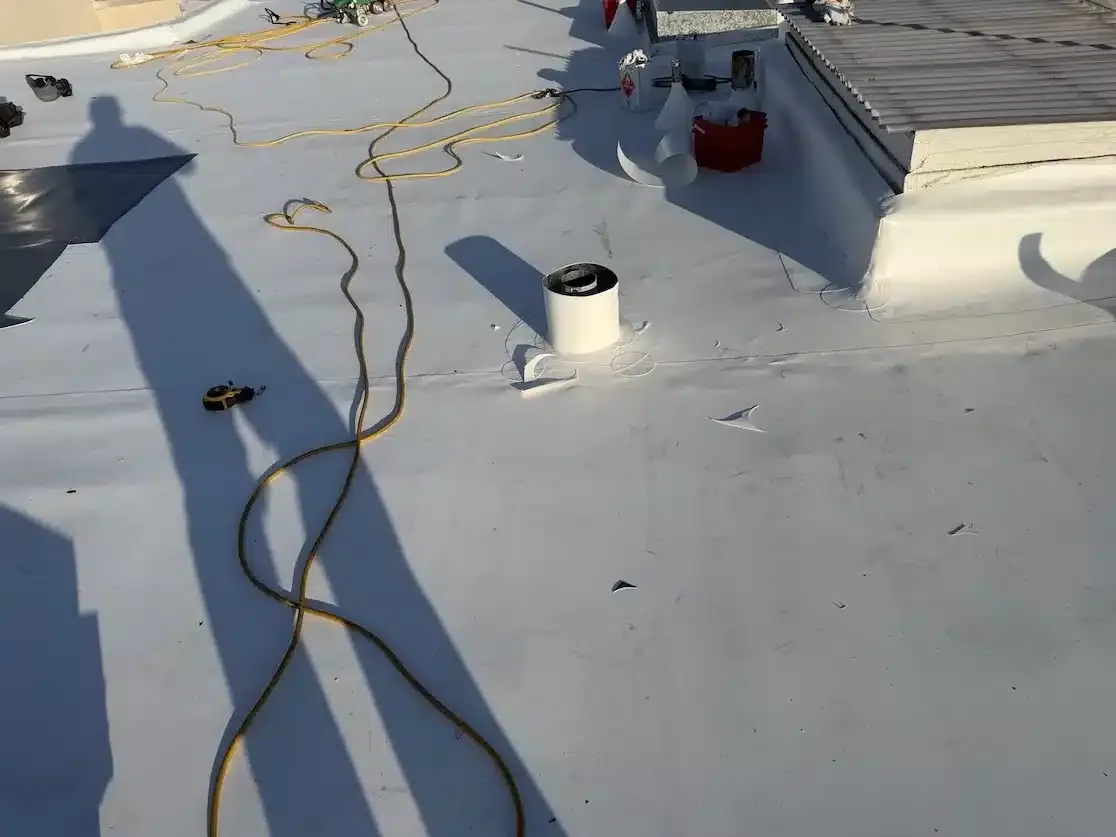
Follow Panel Movement
We look for loose or distorted seams, panel oil-canning, slipped clips, open end laps, corrosion, and fasteners that have backed out. Oil-canning is a visible waviness that may not mean the panel has lost its connection. The inspection checks whether a seam remains engaged and whether movement has opened a leak path at an end or transition.
Clips allow panels to move along their length. A fastener driven through a panel can restrain that movement and create stress near the hole. We identify which locations are fixed and compare them with the panel's designed attachment. Repairs should restore the specified connection instead of adding random fasteners to flatten a wave.
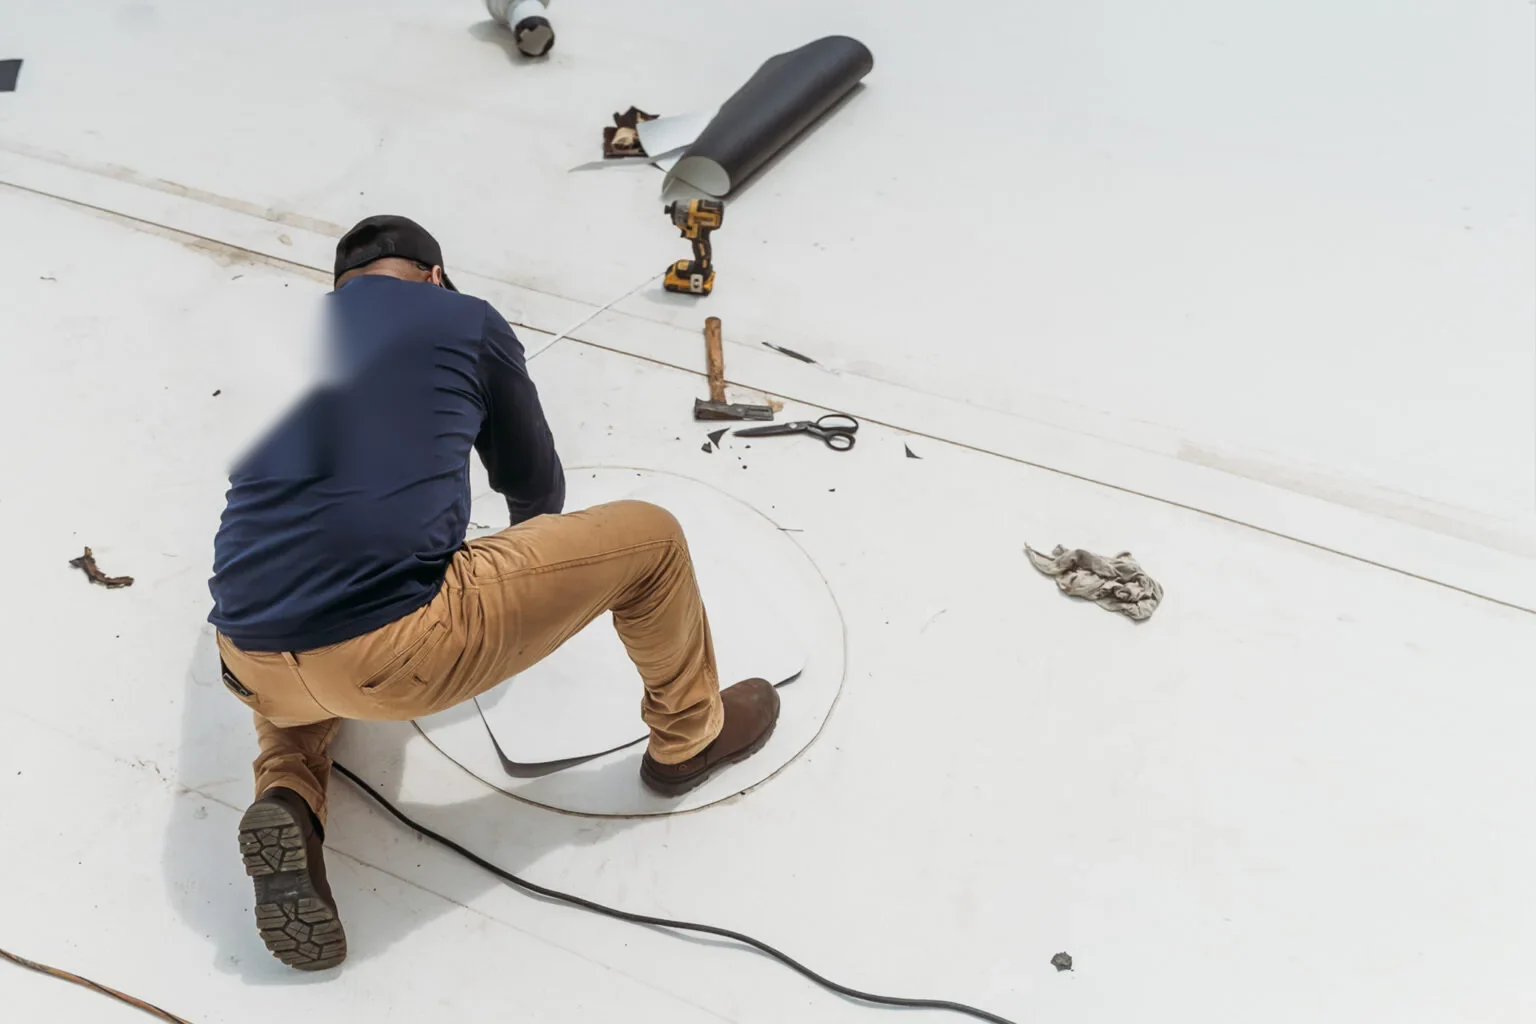
Roof penetrations need formed flashing that accounts for panel ribs and movement. A pipe collar or equipment curb can leak where the metal meets the base, even when the panel seams remain sound. We inspect uphill and downhill edges, sealant, counterflashing, and any exposed fastener rows. The water path may follow a rib before entering at a separate transition.
At an end lap, one panel length overlaps another or terminates into a transition detail. We inspect the overlap, closure strips, sealant, and fasteners at that joint. A leak at the panel end may follow the seam downhill and show up far from the opening. We record both the metal defect and any interior symptom, then test the suspected route instead of assuming the nearest panel is the source.
Fastener rows near eaves and ridges can differ from the field attachment. We check whether screws remain seated, washers are intact, and metal around the hole has not elongated. Replacing a screw without checking the substrate may leave the same loose connection. If corrosion or damaged support is visible, the estimate marks that condition for additional review.
Repair Panels and Flashings
A localized repair may replace a loose clip, correct a panel-end condition, or rebuild a penetration flashing. The work needs the right panel profile, metal type, finish, and fastener. We measure the existing rib and seam before ordering a formed piece. A generic flat patch may not shed water across the raised geometry.
Sealant has a place in some metal details, but it cannot replace a loose clip or restore a damaged panel lap. We inspect how the original flashing was formed and identify the surface that must receive the new seal. Corrosion or repeated movement may call for a larger panel replacement rather than another surface bead.
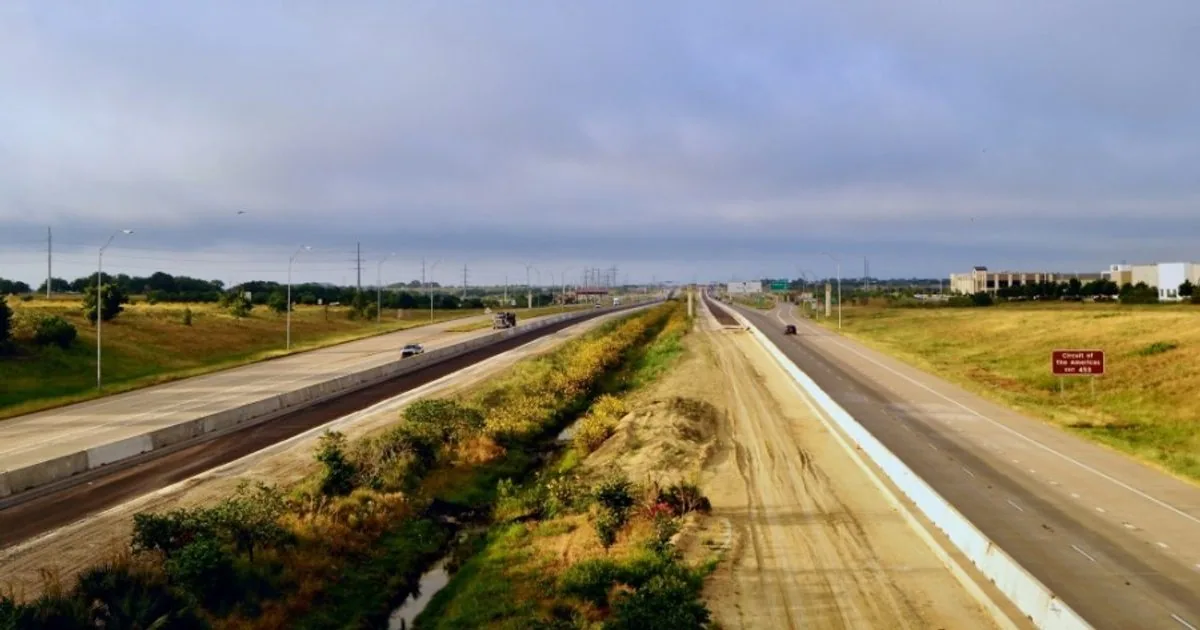
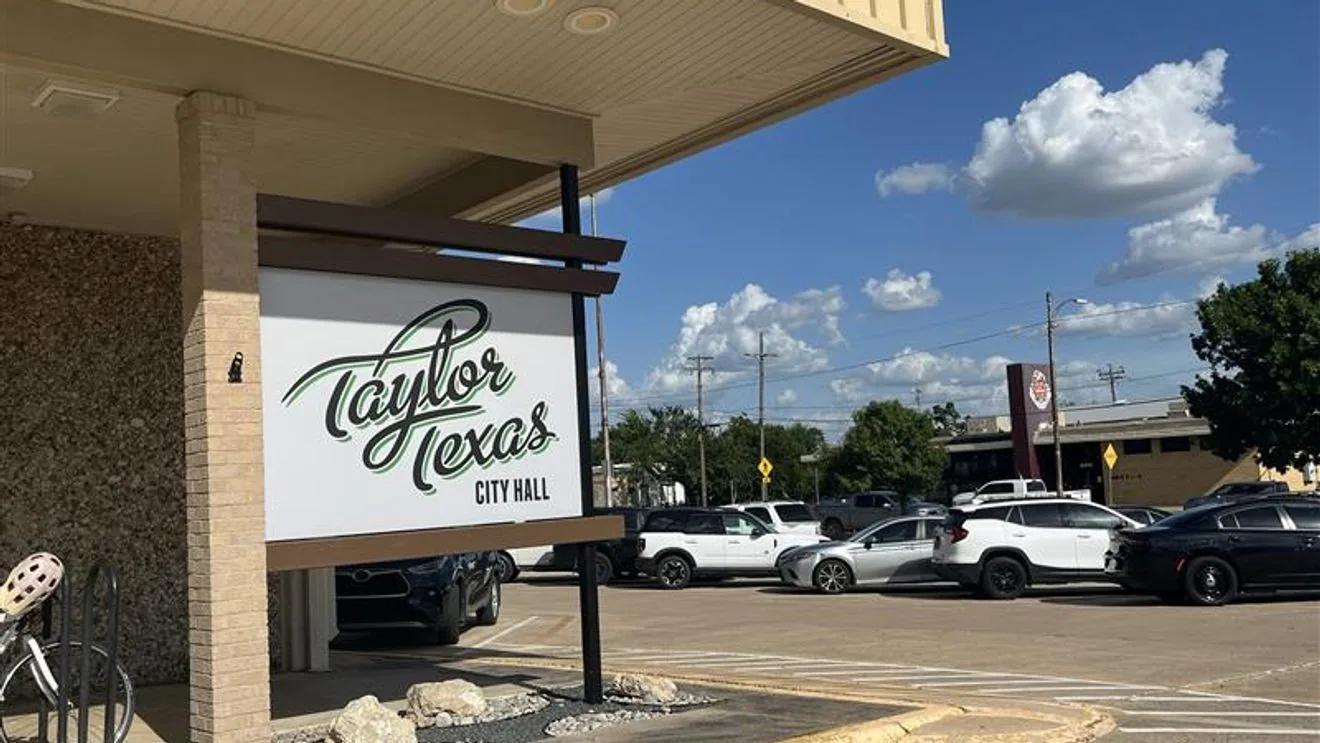
Roof portfolios can span the Pecan Street and SH 130 corridor in Pflugerville and Taylor Special Employment District North. Project operations differ, so our scope records the panel profile and access conditions at the actual roof.
Replacement metal should match the existing panel profile and finish as closely as the product availability allows. A different rib height can change how clips engage and how the flashing sits. We take a profile sample or measure several ribs before ordering. The crew dry-fits custom trim where practical, then checks that the pieces overlap in the intended direction before fastening.
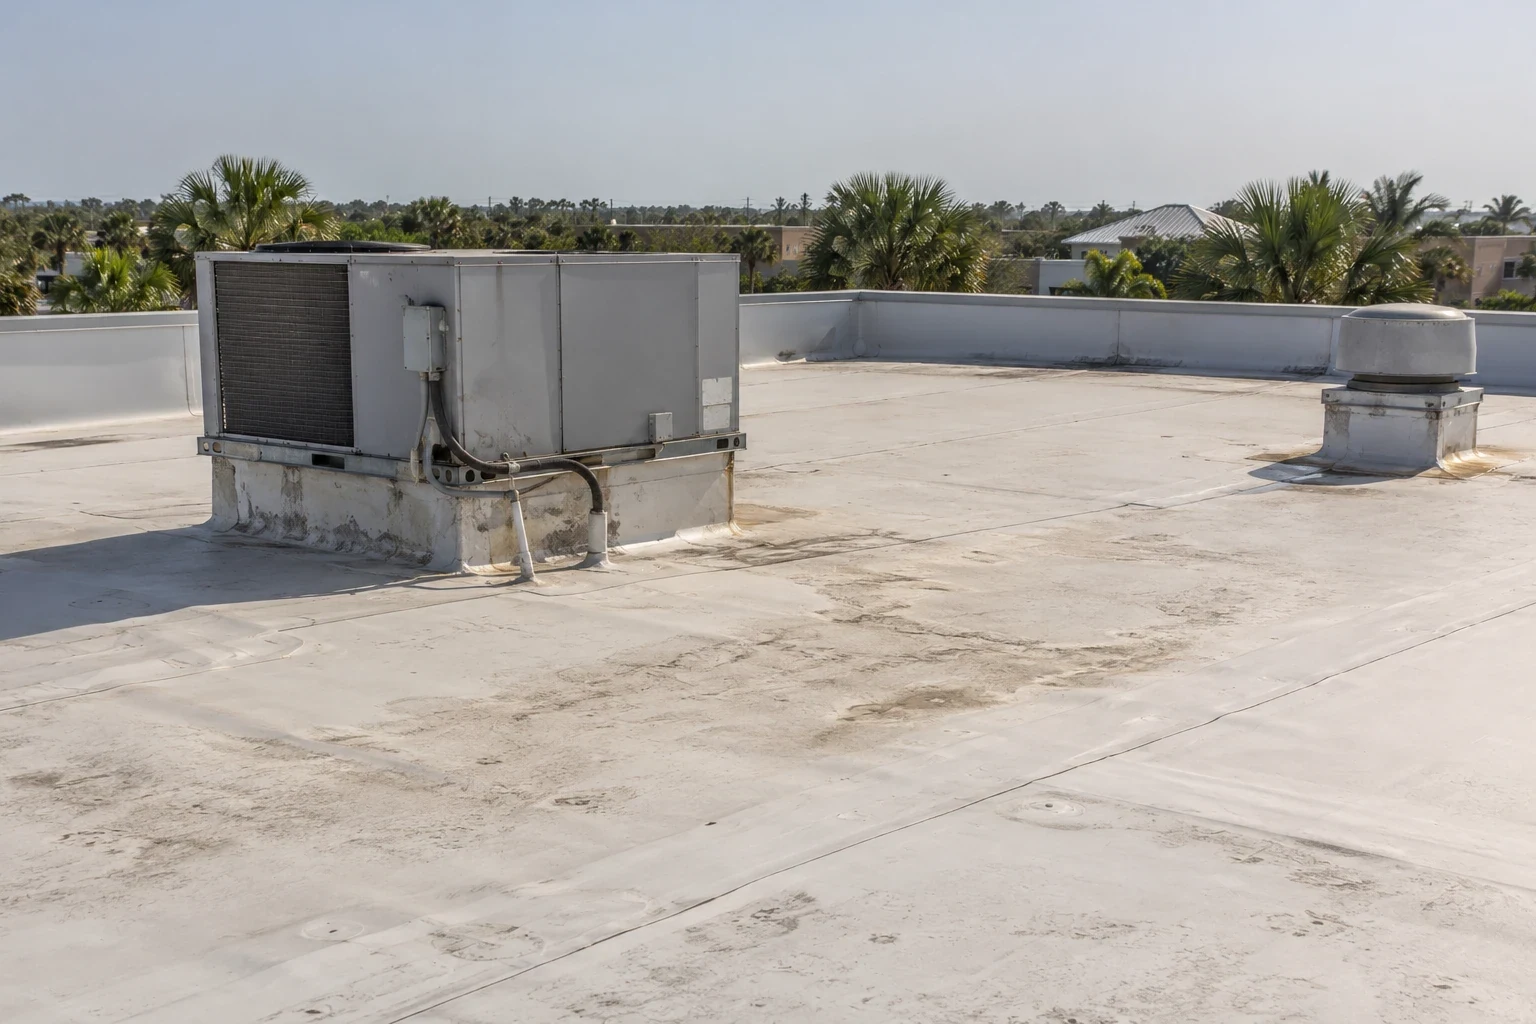
Compare Repair with Retrofit
If exposed fasteners or widespread corrosion affect the assembly, a metal retrofit may be considered. The design must account for existing panel condition, deck support, drainage, edge height, and equipment clearances. A new roof over old metal cannot correct a failed substrate or hidden moisture without addressing those conditions first. We inspect the existing system and mark test areas when needed.
Estimate drivers include panel length and profile, access, seam height, clip spacing, flashing shape, corrosion, roof pitch, and whether interior operations limit the work. A long panel can require material handling equipment or a controlled path across the building. The owner provides staging, security, and site-hours information before the crew mobilizes.
Related work may include a roof inspection, perimeter metal repair, or penetration flashing. If the panels have exposed fasteners, compare a metal retrofit. A manufacturing roof may need coordination around process equipment. The owner can also compare a single-ply membrane when a larger replacement is planned.
Metal roof pitch and panel length affect drainage and where a joint is permitted. A low-slope transition may need a separate membrane or flashing assembly instead of a standing-seam panel detail. We inspect that change in plane and show which trade or material closes the connection. Water that crosses a roof-to-wall transition should not be left to a sealant bead alone.
Document Profile and Attachment
Before work, photos show seam direction, panel ribs, clips where accessible, and the leak or corrosion location. Measurements record profile and panel dimensions. During repair, images show the attachment or flashing before it is concealed. The closeout identifies the replaced parts and any panels that remain under observation.
After work, we check the repaired seam and transitions for visible engagement and seal continuity. A field walk cannot confirm movement through every seasonal temperature cycle. The report says whether rain or temperature movement has tested the detail since installation.
Keep panel product data, finish information, repair measurements, and photos together. That file helps a future crew order matching metal and locate the clip line. When another trade adds a pipe, conduit, or equipment base, share the panel detail before cutting or fastening through the roof.
Standing-seam metal inspections should follow the water path and the panel system's movement. Check seams, clips where accessible, end laps, ridge and eave details, and penetrations installed through or beside panels. A leak near a fastener or curb may involve a failed gasket, an incompatible detail, or water traveling from elsewhere. The report should identify the observed condition and avoid prescribing a sealant-only fix before the metal assembly is understood. A panel-profile sketch and measurements across several ribs help match replacement trim to the installed geometry; retain both with the repair record.
Questions About Commercial Standing Seam Metal Roofing
Does panel waviness mean standing-seam metal has failed?
Not by itself. We check the seam, clips, end laps, and nearby flashing to see whether the panel remains attached and sheds water.
Can you replace one standing-seam panel?
A single panel may be replaceable when neighboring seams can be released and the profile is available. Access and panel length affect the repair sequence.
Why is a fastener through the panel a concern?
A fixed point can restrict thermal movement and stress the metal around the hole. We compare the attachment with the panel design before adding or replacing fasteners.
How do you repair a leak at a standing-seam curb?
We inspect the curb base, formed flashing, uphill transition, and panel ribs. The repair must account for both the roof profile and panel movement.
Can you install a retrofit over standing-seam panels?
That choice requires review of panel condition, support, drainage, added height, and equipment clearances. We inspect the existing assembly before defining a retrofit.
Related Roofing Work
Pecan Street and SH 130 Corridor
Taylor's Special Employment District North
Commercial Roof Inspection
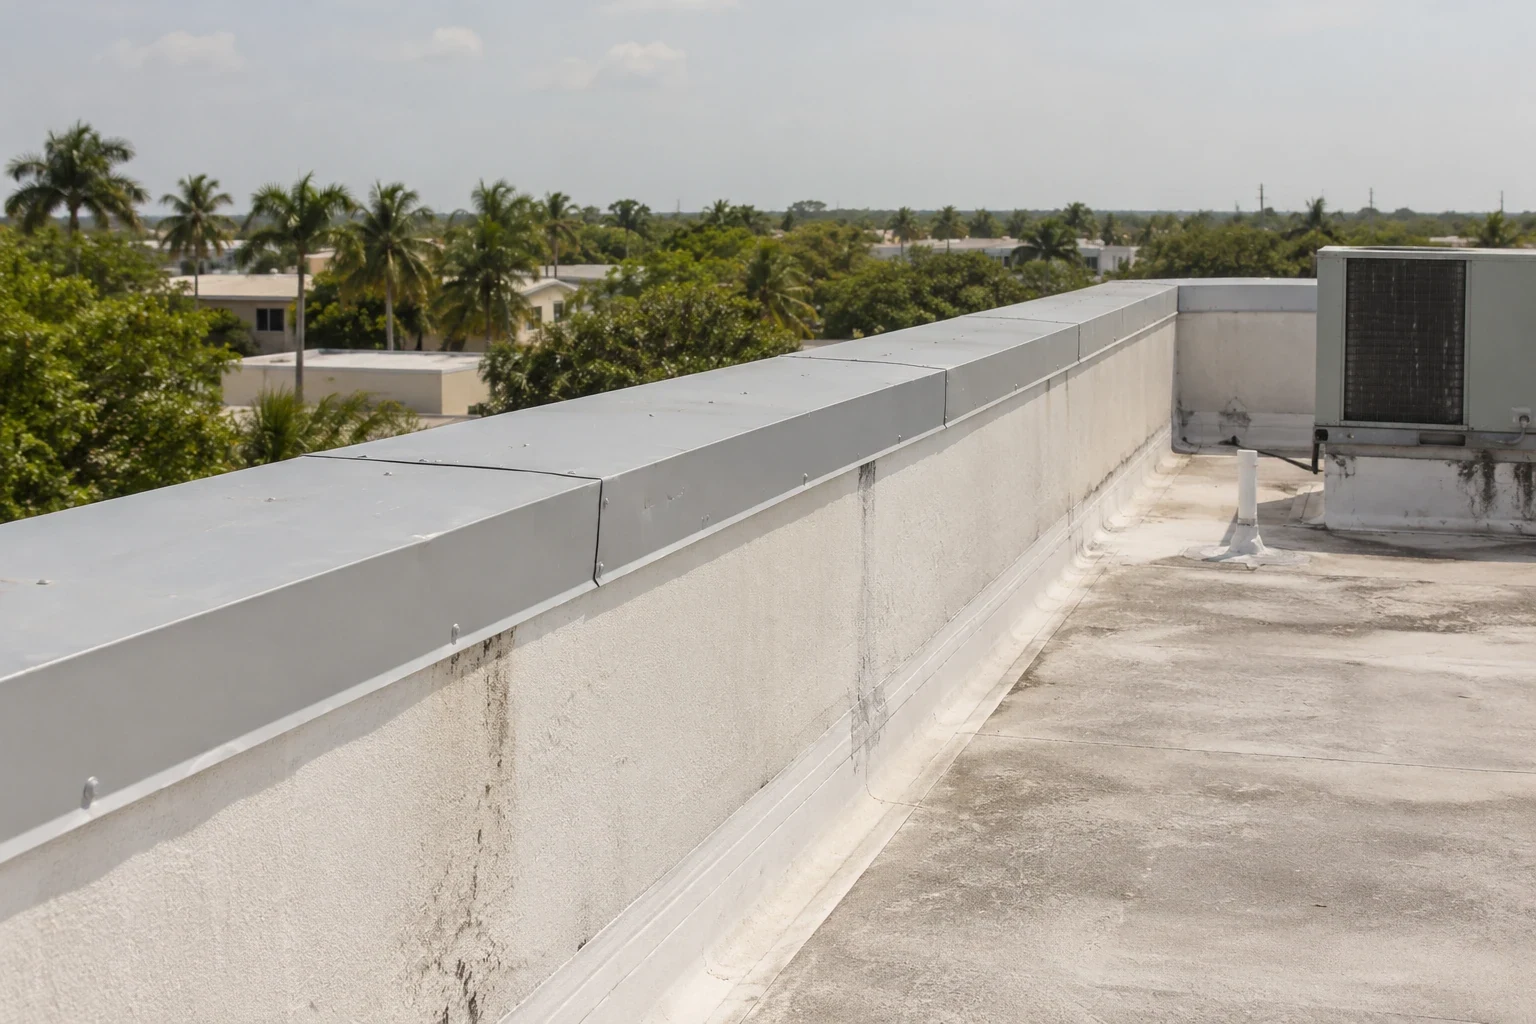
Commercial Roof Edge Metal, Coping, and Gutters
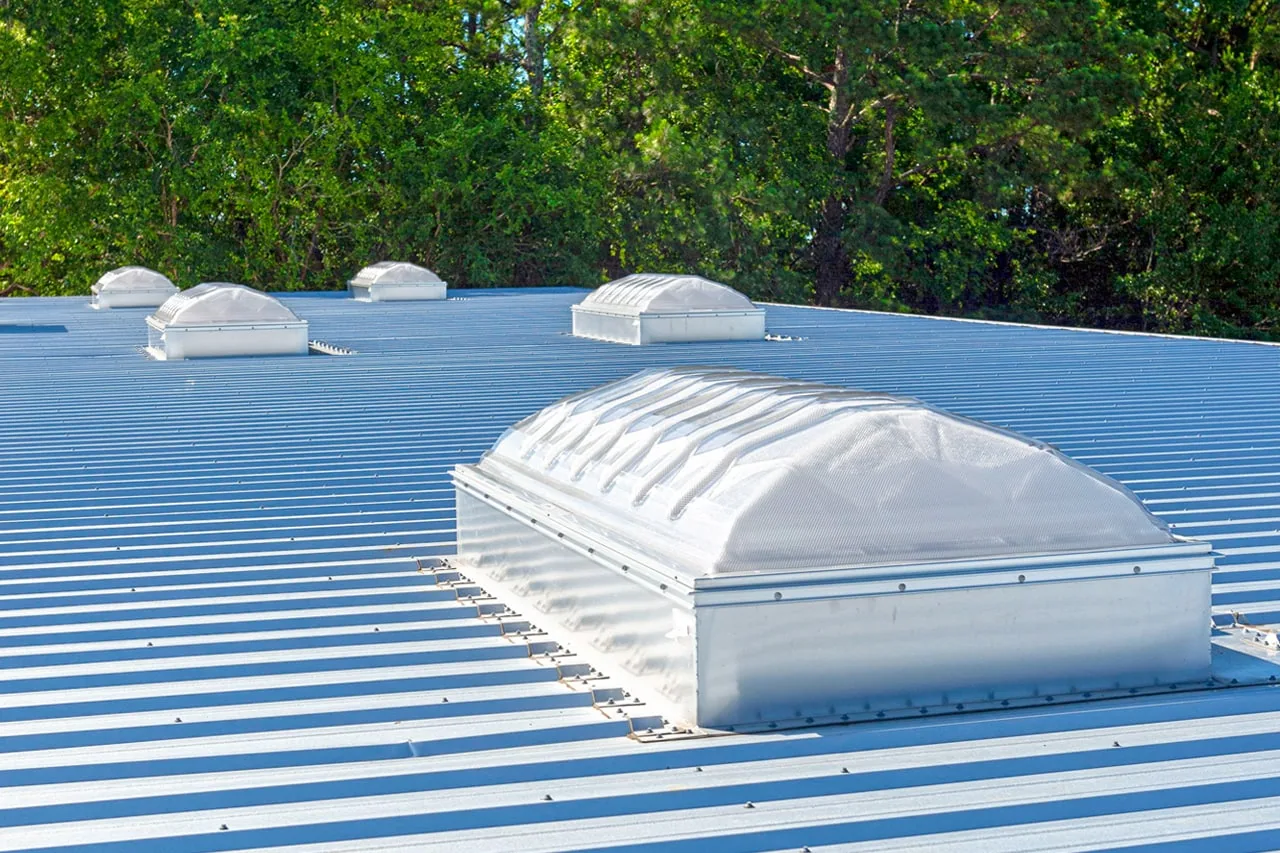
Commercial Skylight and Penetration Flashing